In Tableau, to add multiple values from a table or any visualization to a set action, the user has to hold down command (on a Mac, control on a PC) while clicking all the options they want. 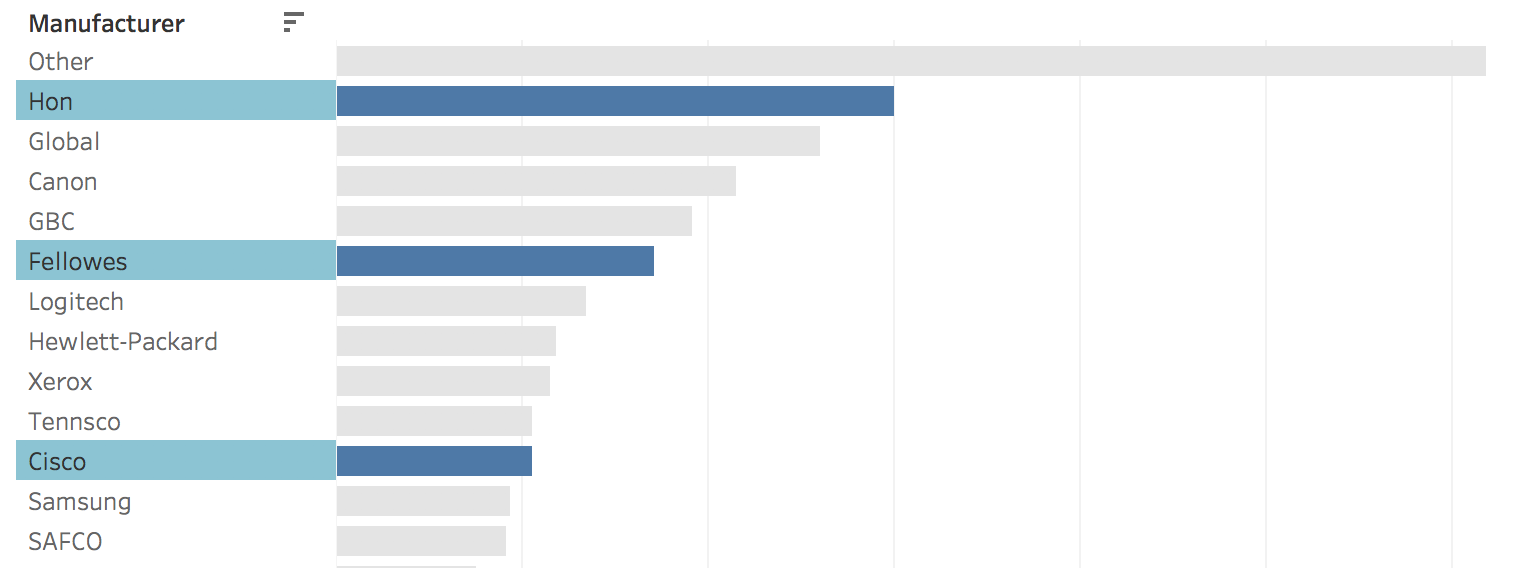
But what if you want the control the number of items a user can select? Or you don’t want the user to have to hold down control/command to select? Using set actions that run on a menu may be the right answer.
How To
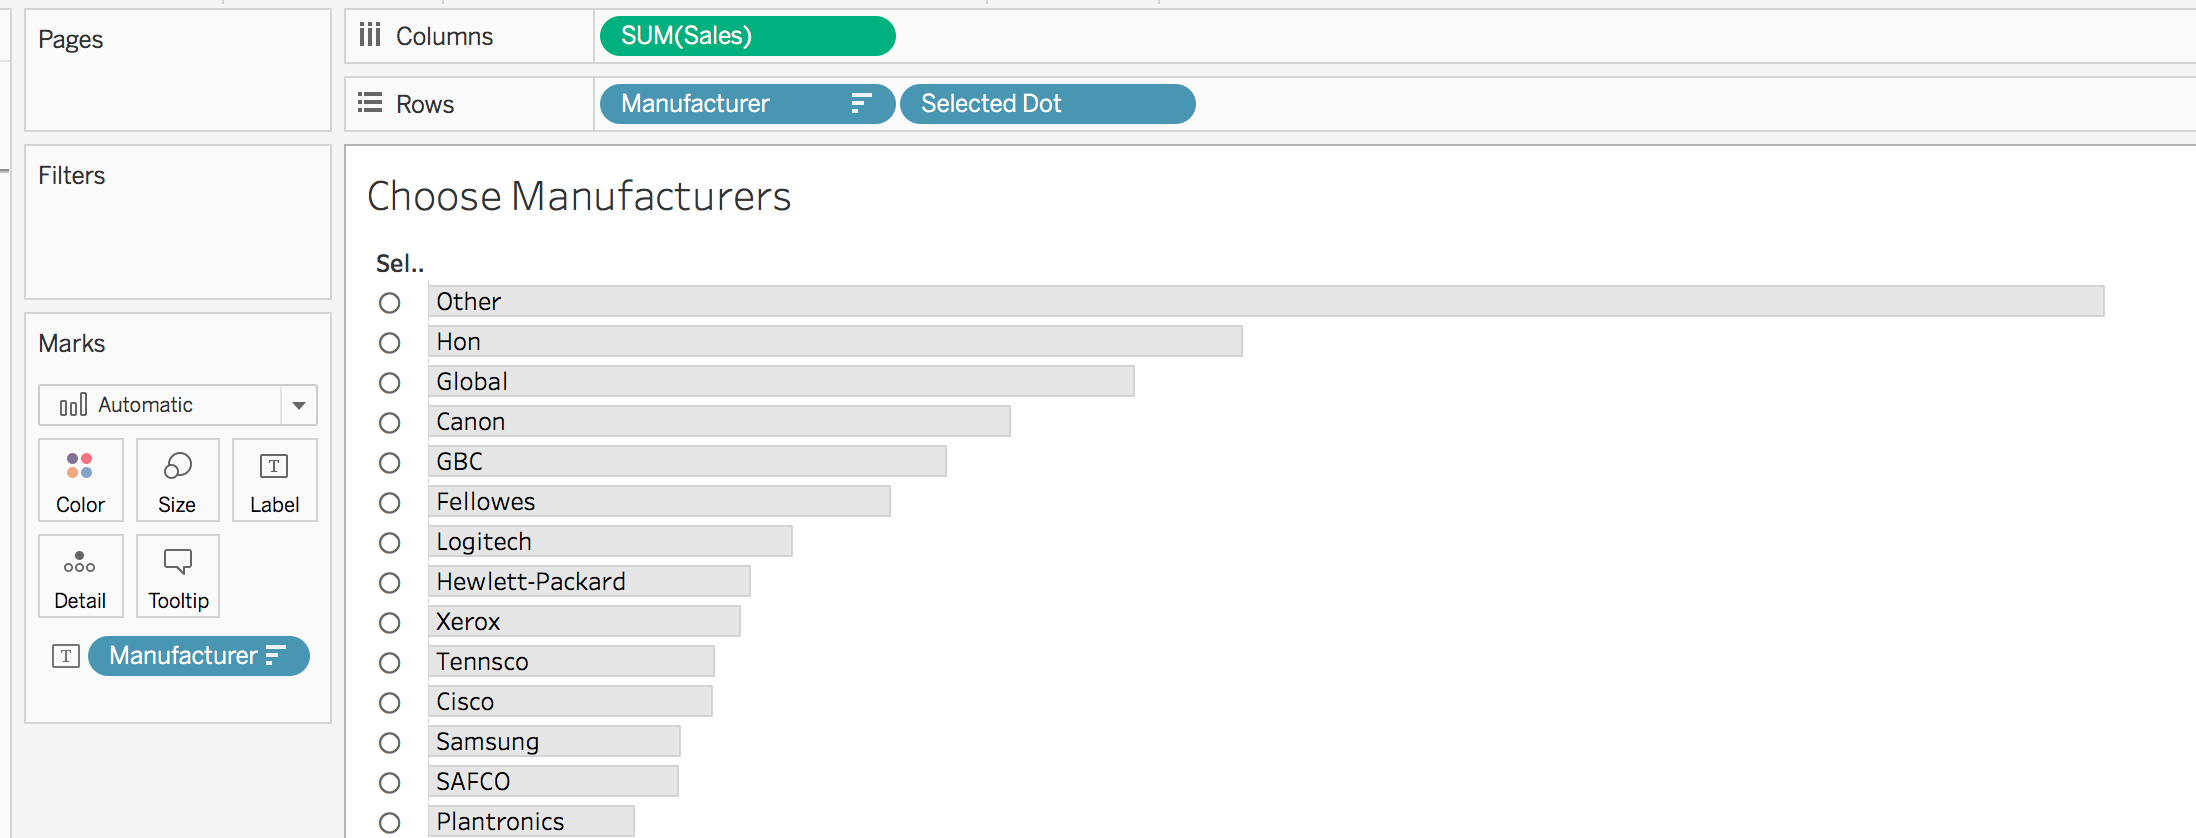
- Create a new worksheet called “Choose Manufacturers”. Add manufacturer to the rows shelf and sales to the column shelf. Sort manufacturer on descending sum of sales.
- Create a new set based off of manufacturer. To do this, right click on manufacturer in the dimension shelf and select create > set. Name the set Manufacturer Set 1 and click OK.
- Create a new calculation called selected dot. This will display an open dot for manufacturers that aren’t selected and a filled dot for those that are
if [Manufacturer Set 1] then "●" else "○" END
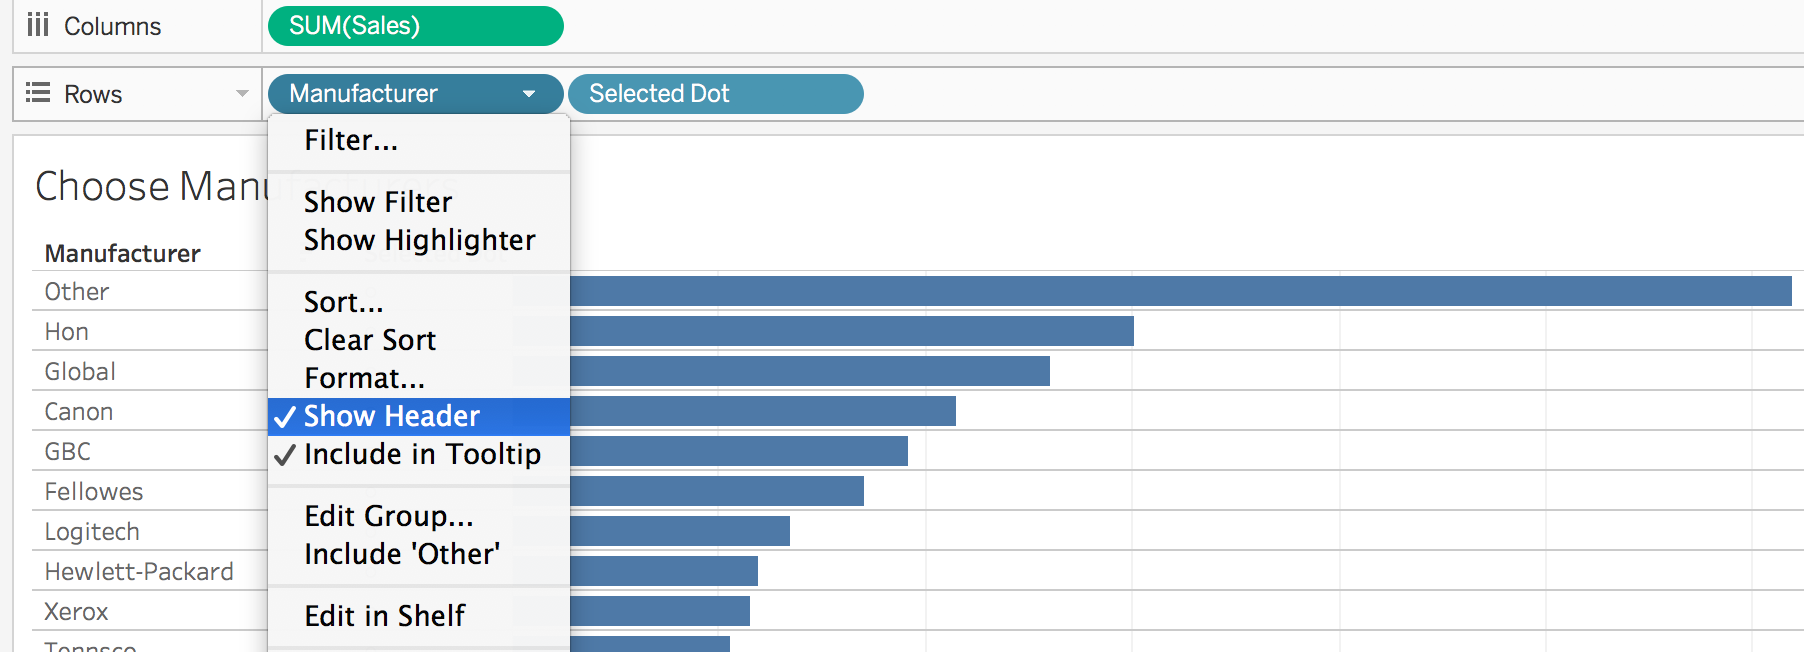
- Add selected dot to the rows shelf, after manufacturer. Then, click on the manufacturer pill and unselect show header
- Add manufacturer to the label mark and change the alignment to left. Hide the axis. Then right click on the graph and select format. Go to the borders section and remove column and row dividers. Then go to the line section and remove column grid lines. Change the color of the bar to light grey. Right click on the selected dot column and select format. Increase the font size (~size 18). Then shrink the size of the selected dot column.
- Create a new dashboard and add the choose manufacturers worksheet to it.
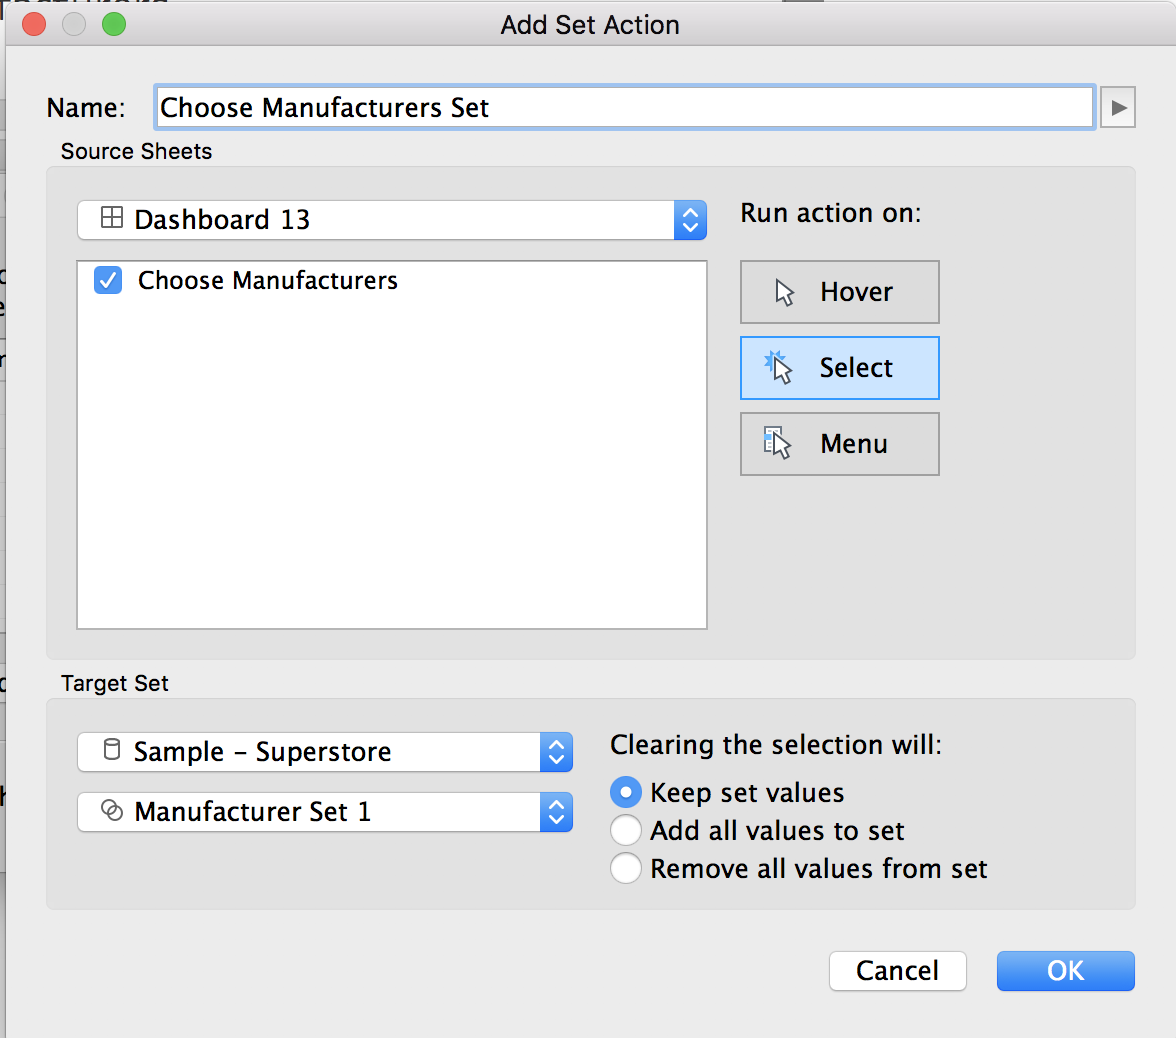
- Add a new set action. This can be done by going to worksheet > actions > add action > change set values. Run the action on select, with clearing the selection keeping set values.
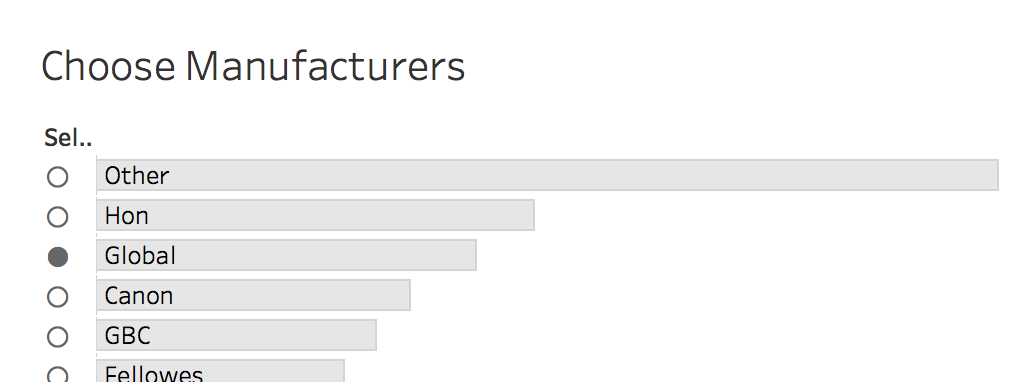
- Now, clicking on any manufacturer will fill the dot. Leave as is if you want a single select filter. Continue on if you want to create a multi-select.
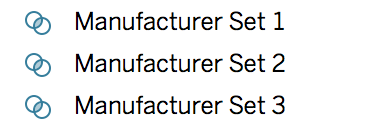
- Go back to the choose manufacturers worksheet. Duplicate the manufacturers set twice and rename to Manufacturer Set 1 / 2 / 3. This will give the user the ability to choose three different manufacturers to compare. If you want the user to have more than 3 options, add additional sets.
- Update the selected dot calculation to include the additional sets. Additionally, add verbiage below the dot. The text will then only appear when a circle is clicked on or hovered over. It may require making the column slightly smaller and the vertical alignment set to top.
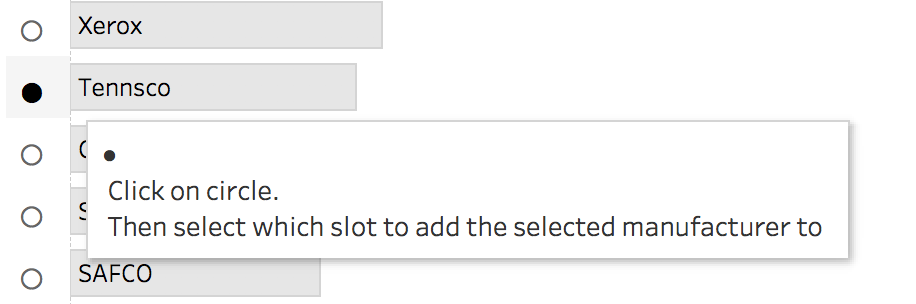
if [Manufacturer Set 1] or [Manufacturer Set 2] OR [Manufacturer Set 3] then
"●
Click on circle.
Then select which slot to add the selected manufacturer to" else
"○
Click on circle.
Then select which slot to add the selected manufacturer to"
END
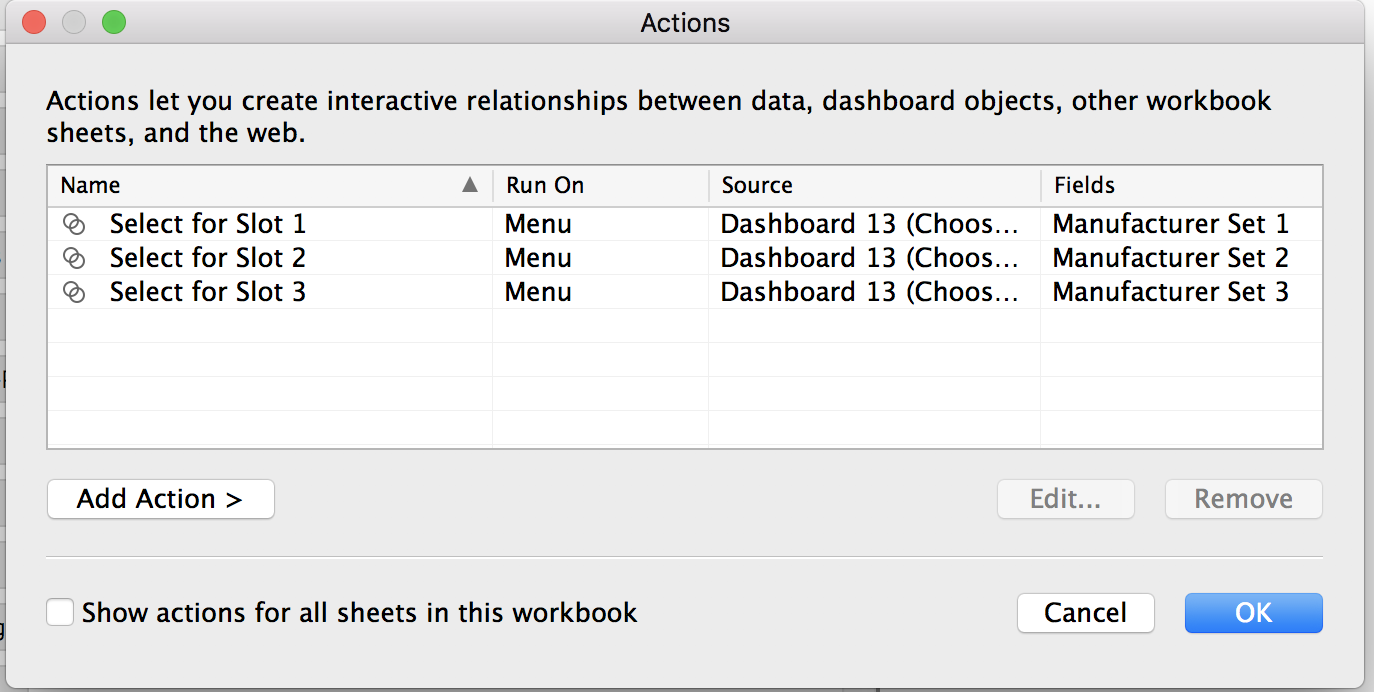
- Go back to the dashboard. Add two new set actions, one for each of the new manufacturer sets. This can be done by going to worksheet > actions > add action > change set values. Run the action on menu, with clearing the selection keeping set values. (Note: if you want the user to be able to select less than three options set the clearing the selection to remove all values). Also, be sure to update the original set to run on menu. Because the set is set to run on menu, whatever the title of the set is, is what the user will see.
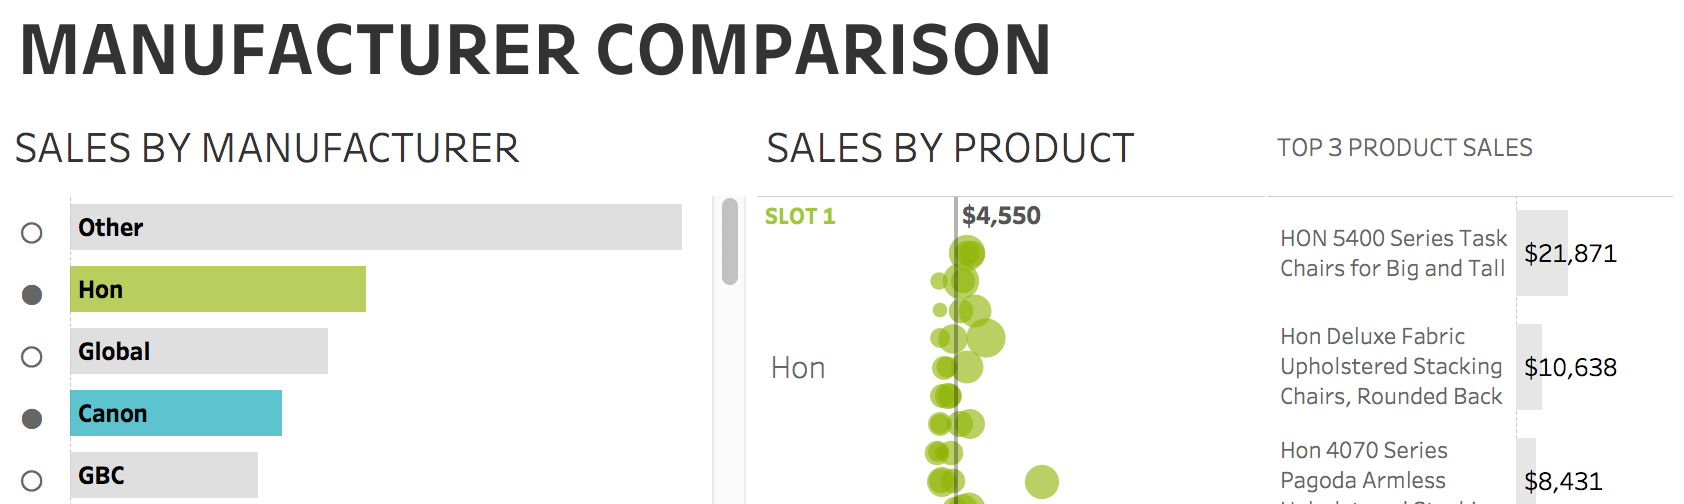
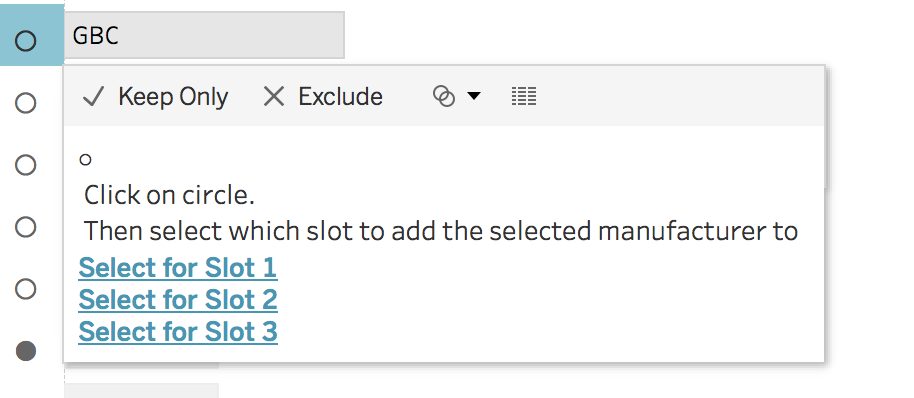
- Now, clicking on an dot brings up the menu to choose the for “slot 1” “slot 2” or “slot 3”. Play around with it until a value is selected for each of the slots.
- Create a new worksheet called comparison.
- Create a new calculation called in sets. This will return true if a manufacturer is in any of the three sets
[Manufacturer Set 1] OR [Manufacturer Set 2] OR [Manufacturer Set 3]
- Add manufacturer to the rows shelf. Then add in sets to the filters shelf and select true.
- Add profit and quantity to the columns shelf.
- Add the new comparison worksheet to the dashboard. Play around with changing values to see it update. At this point the in sets filter can be applied to any worksheet to create any type of comparison!
To view my working example on Tableau Public or to download my workbook, click here. Also, check out the other dashboards in the workbook detailing different ways to use set actions.